Your cart is currently empty!

Project: Electrical Up to Snuff?
Posted by:
|
On:
|
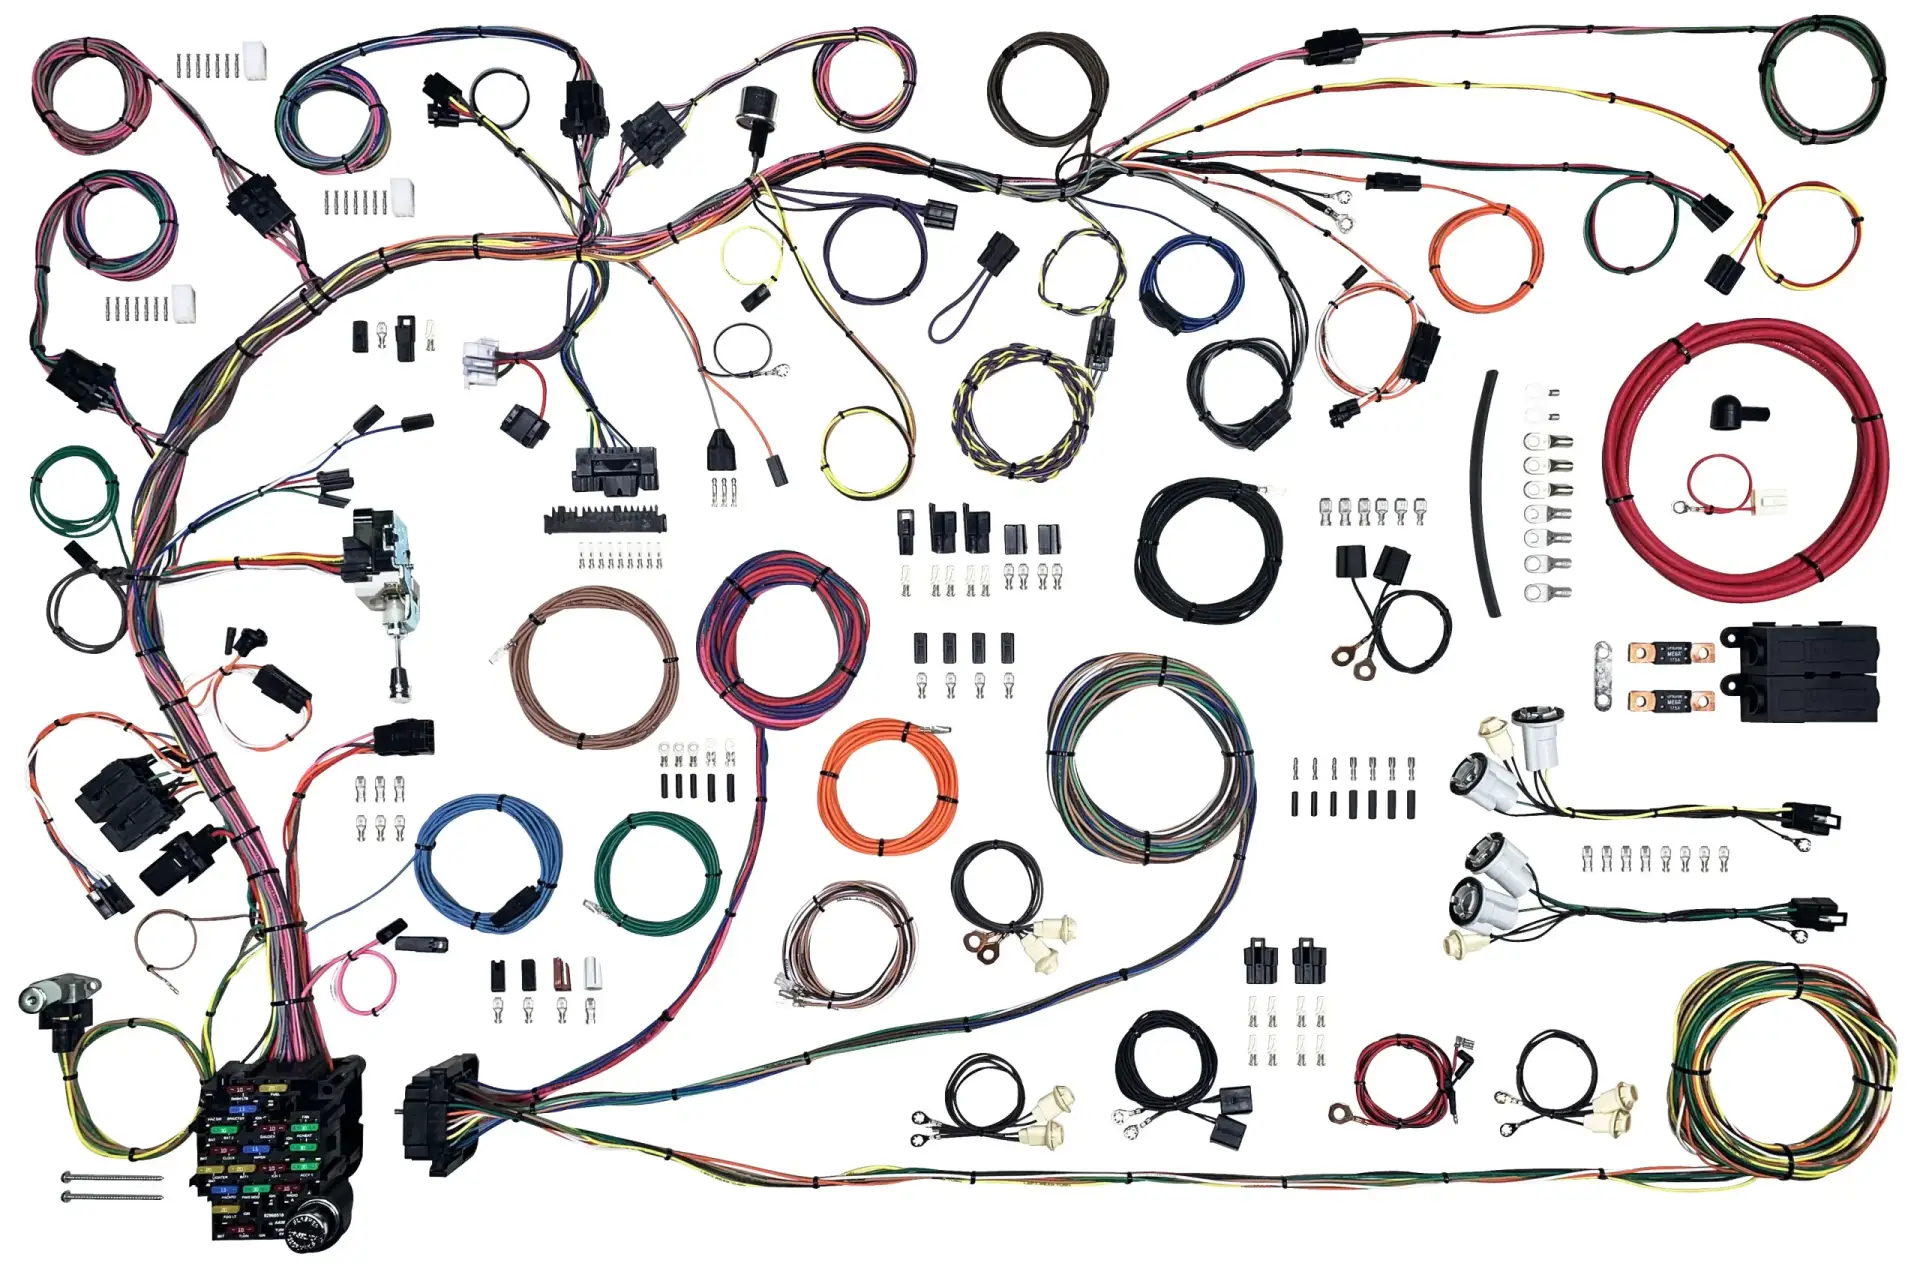
The boys at Anything Scout have a Scout II specific wiring harness and I am thinking about adding this to the project list.
When embarking on a journey to restore or upgrade a classic vehicle like a 1972 Scout II, one of the most critical and intricate tasks is rewiring the entire electrical system. This blog post will detail my experience with a full rewire of my 1972 Scout II. We will use the Anything Scout Complete Wiring Harness. I’ll share insights, tips, and lessons learned along the way….once I decide if I want to go this route. I hope to help fellow enthusiasts navigate their own restoration projects.
- Understanding the Original Wiring: Before diving into the rewiring process, it’s helpful to understand the original wiring setup. This can be achieved by studying the original wiring diagrams and manuals. In my case, I found a wealth of information online, including detailed blog posts and forums discussing the intricacies of Scout II wiring. Check the GOOGLE Machine 😉
- Selecting the Right Wiring Harness: I chose the Anything Scout Complete Wiring Harness for my project. This decision was based on the harness’s reputation for quality, reliability, and ease of installation. The harness is designed to replace the original Scout II wiring, featuring a modern fuse block with relays, an updated bulkhead connector, and pre-fit connectors for a seamless fit.
- Preparing for the Rewire: To prepare for the rewiring process, I studied the wiring diagrams and instructions provided with the Anything Scout Complete Wiring Harness. This step is crucial, as it helps you understand the various components and their connections.
- Disconnecting and Removing the Old Wiring: The next step was disconnecting and removing the old wiring. This process can be time-consuming and involves carefully labeling and documenting the original wiring connections. Taking photos and notes throughout the process can be helpful in case you need to refer back to the original setup.
- Installing the New Wiring Harness: Removing the old harness will obviously be done before the install….. The pre-fit connectors made the installation much smoother, eliminating the need for custom wiring or modifications.
- Testing and Troubleshooting: After installing the new wiring harness, testing and troubleshooting the electrical system is essential. This involves checking for proper connections, ensuring all components function correctly, and addressing any issues.
- Final Thoughts: Rewiring a 1972 Scout II with the Anything Scout Complete Wiring Harness was a challenging but rewarding experience. By selecting a high-quality replacement harness and taking the time to understand the original wiring setup, I successfully completed the rewiring process. For those embarking on a similar project, I recommend patience, attention to detail, and a willingness to learn from online resources.
BUDGET???? $1,500 to $3000??? The harness is $1300 bucks… Will it take 2 days to rewire the whole car? Maybe??

Next:
